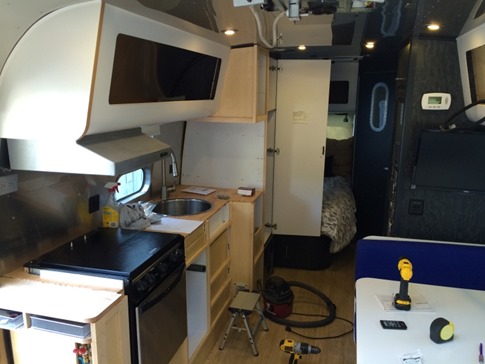
Our only real deadline on this renovation of our 2005 Airstream International CCD 25’ is the first week in July. That’s when we’re expecting our second child, one of the big motivations for trading up to a larger trailer in the first place, and the point at which we’ll be switching from tag team to man-to-man parenting. I’m guessing my time for projects like this one will be cut dramatically, a fact that coincidentally has been inspiring me to simplify as much as possible in our lives and around the house (see “The Purge”) and making us think a lot more about the appeal of doing some extended “lifestyle travel” in the completed trailer.
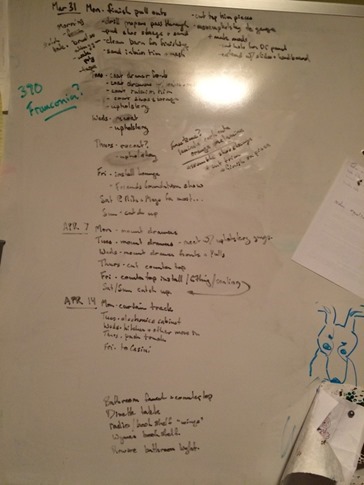
Still, the Northern California Airstream rally at Casini Ranch was coming up in mid-late April, and I’d gotten it stuck in my mind that that would be the maiden voyage. So, with three weeks to go, I made up a project schedule. If I could hit these marks, tick off each item on the list on the day it was scheduled, we could make it.
Day 1 Task List – Mon, Mar 31: Finish building the large pull out pantry slides, sand the pieces for the shoe storage, drill a hole for the gas lines and plumb to the cat heater, cut final trim pieces for kitchen, sand the installed kitchen trim, cut access hole under the lounge for the new DC electrical panel, install the longer slides for the bed pullout and replace plywood with hardboard for Wynne’s “art table,” move the pieces for the lounge into the garage for upholstery, clean up the barn to be ready for finishing. End of Day Status: Finished building the large pull out pantry slides, felt rushed, made a few bad decisions and had stopped enjoying the project.
Day 2 Task List – Tues, Apr 1: Slow down, work smarter, and we’ll see where we are on the Thursday before the rally. A much better plan. No foolin’.
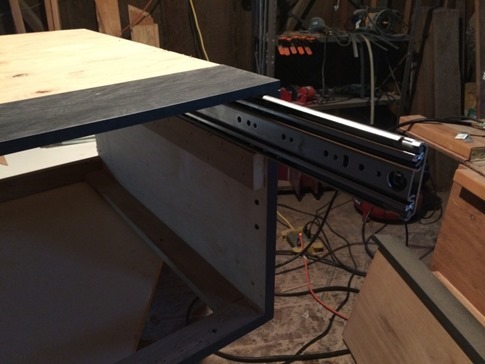
One idea we’d had for the front lounge was to replace the stock 16” full extension slides for the pullout bed with ones that could extend even farther to make a larger play table for the kids. While those heavy duty slides are not cheap, even going from 16” to 22” and replacing the rough plywood with some durable hardboard should make a big difference for coloring or other projects while allowing the adults to still hang out on the couch or at the dinette.
The new slides (3” tall with a 3/4” clearance) slid right in to replace the old ones although I had to reposition a piece of wood that extended across the lounge behind the pullout to stiffen it. I have a feeling I’ll figure out a use for the old 16” slides when I start building our truck bed storage.
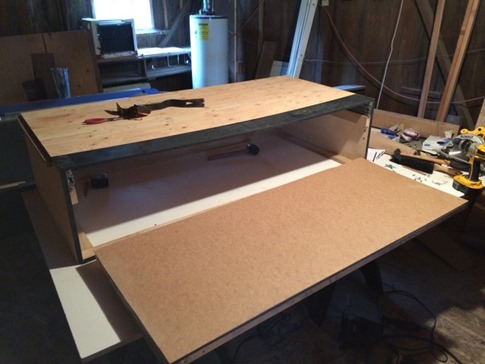
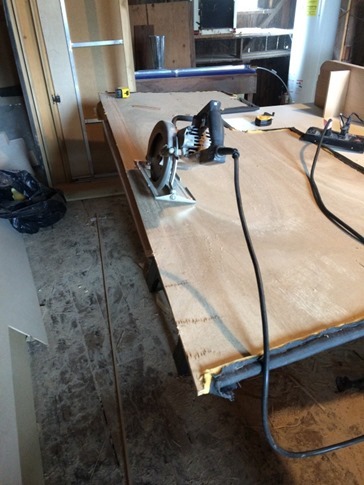
The plywood surface for the pullout is supported by a steel frame but is just stuck down with adhesive tape. I replaced it with the hardboard (the choice of artists as a drawing surface and palette material) to the new larger size and extended the frame to support it by sliding some square cut pieces of maple into square tubes and building off those.
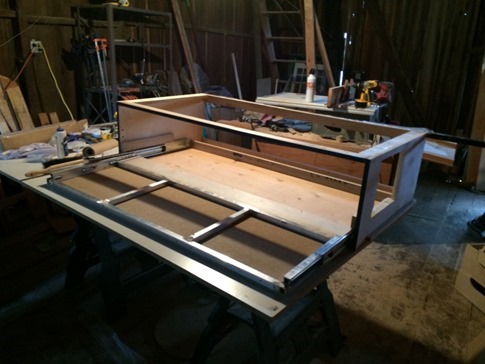
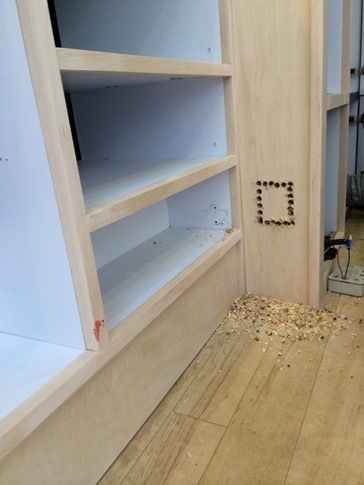
With the weight of the frame and slides, it was a lot easier to mount them with the whole thing upside down. You can also see the access hole cut for a new DC panel that sits next to (but under the lounge) the factory panel. You can also see the support board spanning the width of the couch at the back of the hinges.
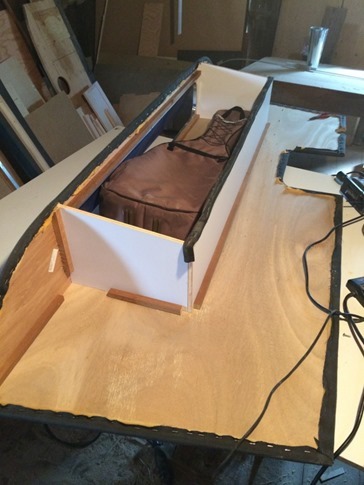
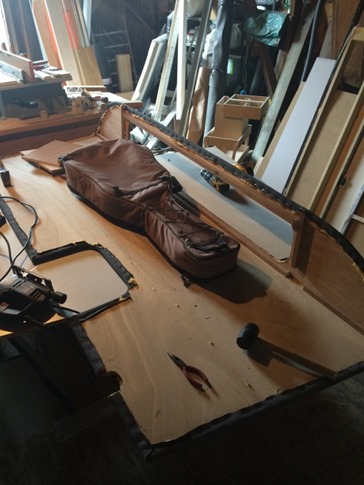
The next mods (not even sure if these were on my 3 week schedule!) were to the backrest for the lounge. Behind the cushions, an oval shaped storage door was framed into the upholstered “mantle” for access to a small compartment. Unfortunately, I’ve already developed a reputation for traveling with a full band’s worth of instruments, and a test fit of my guitar case alone determined that this was just not going to cut it.
Storage “bulkheads” removed. They’re not really structural although the bottom of the storage was one of the attachment points to the wall. I’ll deal with this in a sec.
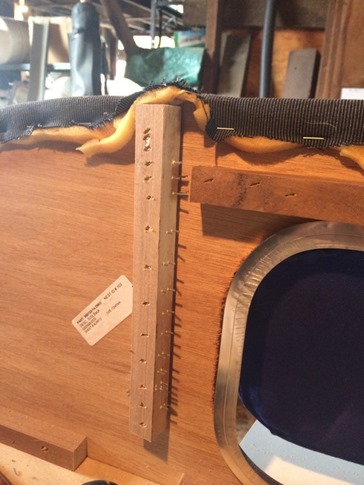
Someone at the AS factory likes the sound of their pneumatic stapler a little too much. Yeah, I think 27 staples per linear foot should just about do it.
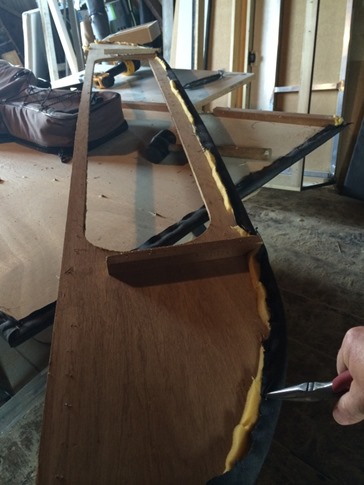
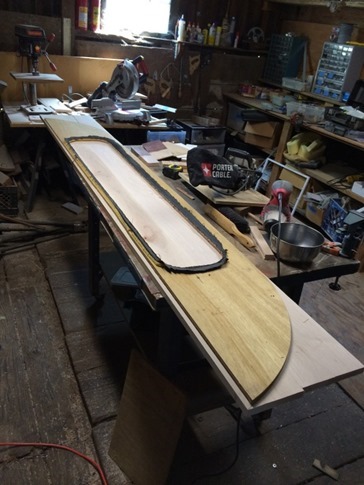
The plan was to replace the upholstered mantle with a maple one that matched the rest of the woodwork and would allow for a much larger access door to the expanded storage. After popping the mantle off, the next step was removing 7,238 (est) staples to get the fabric and foam off so I could use it as a template for the replacement.
I also had to shave 3/4” off the top of the backrest piece since my mantle would rest on top instead of butting against it like the original.
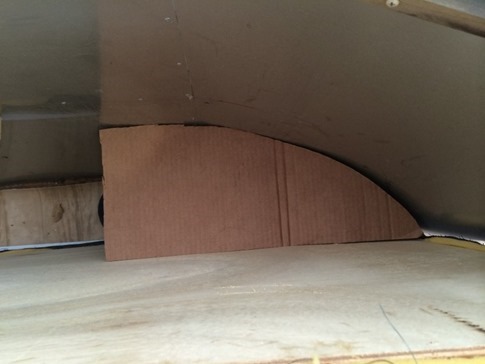
Instead of building a bigger storage box, I just added a “floor” and made the entire space behind the backrest the compartment. More cardboard templating to cut the 1/4” ply bottom. I set it at 12” off the floor of the trailer because of an existing access panel through the backrest from beneath the lounge and with some thought of leaving room for some AGM batteries under there down the road.
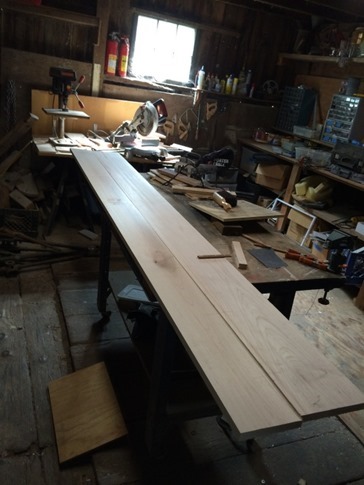
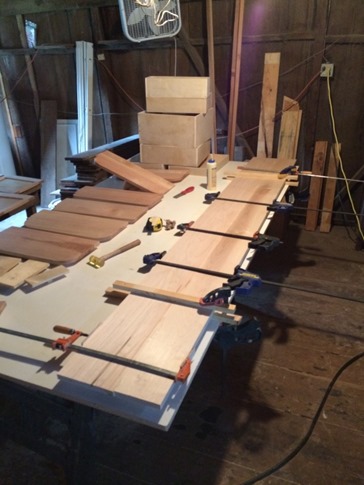
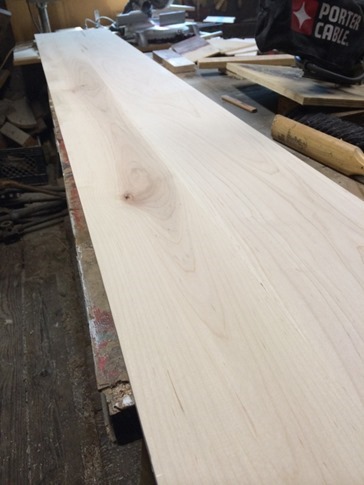
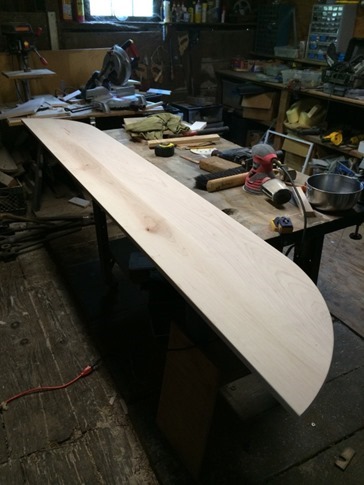
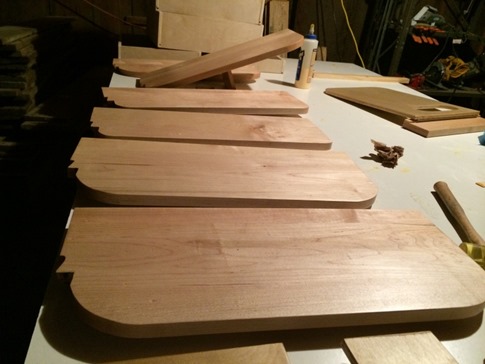
The new mantle was made from two maple planks, biscuit joined and glued.
Then sanded smooth. I used the side with some color differences and knots which will really pop when finished.
Then traced using the old mantle as template.
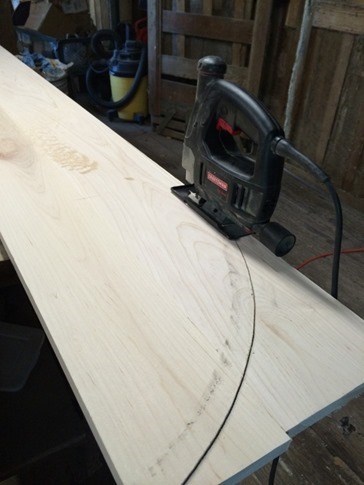
And cut using the jig saw.
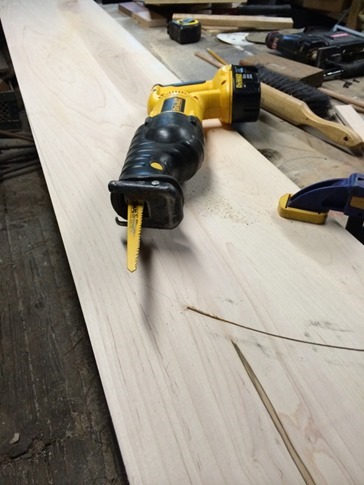
And then, when my tiny Craftsman jigsaw $h!t the bed from the hard maple, with the sawsall. Note, that evening I ordered an 18V cordless Dewalt jig saw that uses the batteries I already have through Amazon Prime. It showed up the next morning!
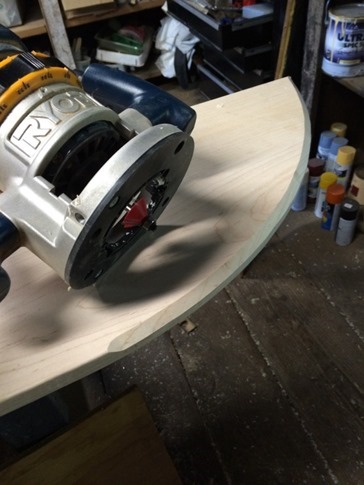
To fit the sloped walls at the nose of the trailer, I rounded of the underside of the mantle piece so the top would be as flush as possible. For some reason, I couldn’t get the song “Surfin’ USA” out of my head all day.
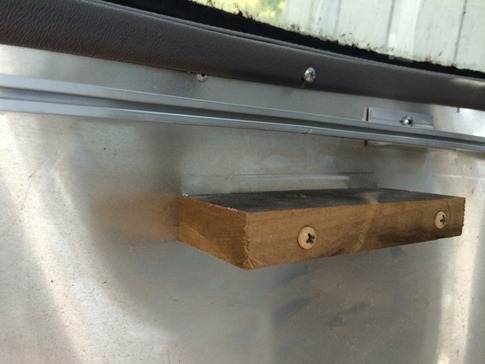
To account for the new thickness of the mantle, I had to reposition the blocks screwed into the skin to support each piece 3/8” down (3/4” new mantle, 3/8” ply for the old).
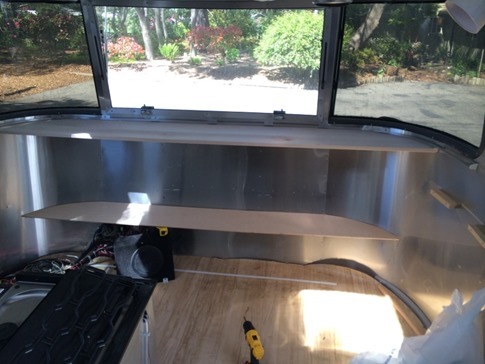
See the new mantle and bottom of storage cabinet dry fit into place below. A LOT more storage and will be filled with mostly light musical instruments anyway.
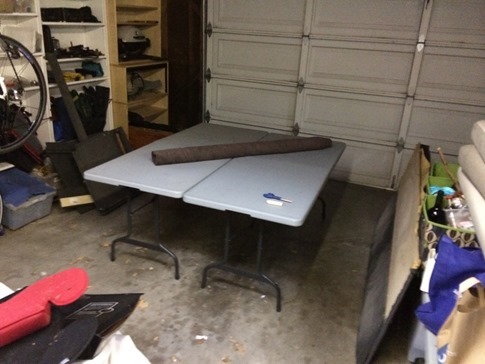
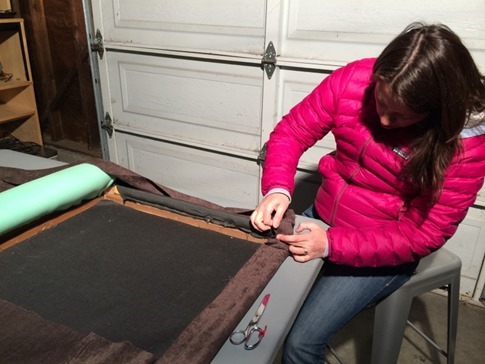
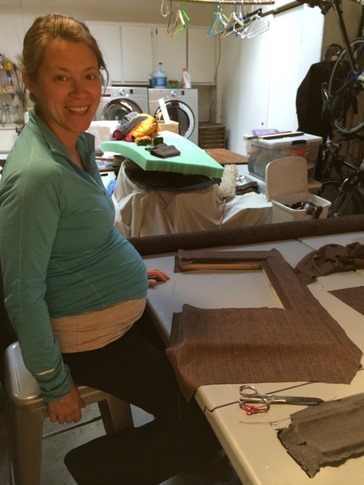
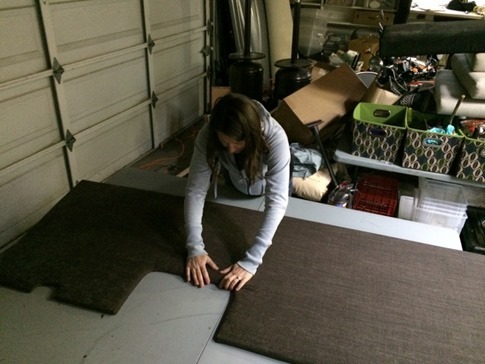
In the evenings after Wynne was asleep, we’d been sneaking into the garage to start work on the upholstery. Not a bad little workshop. Still looks cluttered despite what seems like a steady stream of crap we’re getting rid of.
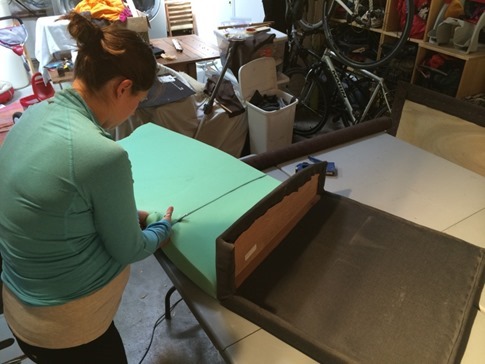
We had never been fans of the two-tone (black and white) lounge in addition to the cushions being thin and “boxy.” Just not at all like a comfy couch at home. But, after hearing the estimate from a local upholstery shop to recover everything (more than our solar installation!), we decided to just have them to build new cushions with zippered, machine-washable covers while we did the rest.
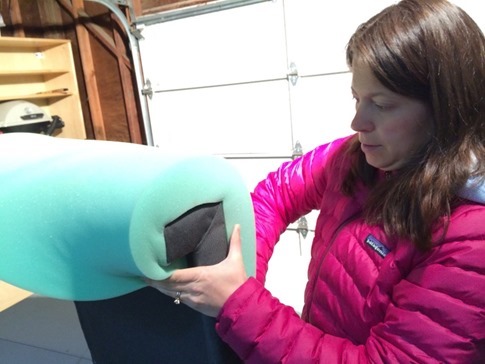
We started by adding 3” foam to the top of the squared off armrests. Many staples, set well with a hammer seemed to do the job. Cutting 3” foam with a pair of tiny scissors is only recommended for trained massage therapists on extended maternity leave with freakishly strong hands.
Looking a lot more comfy. This should definitely pass the nap headrest test.
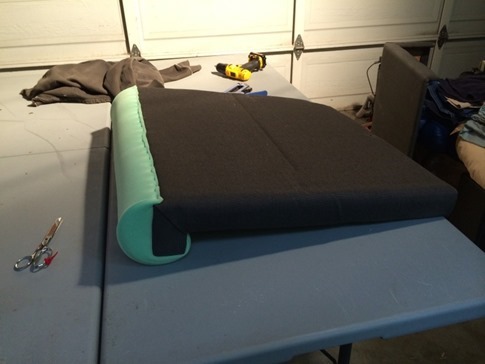
Then everything got covered with the new fabric, a little like a microfiber/suede. More staples, set with a hammer. We just went right over the old fabric and foam.
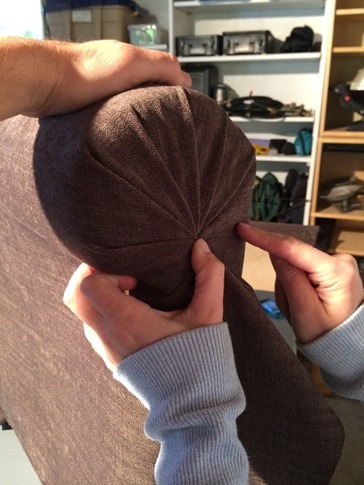
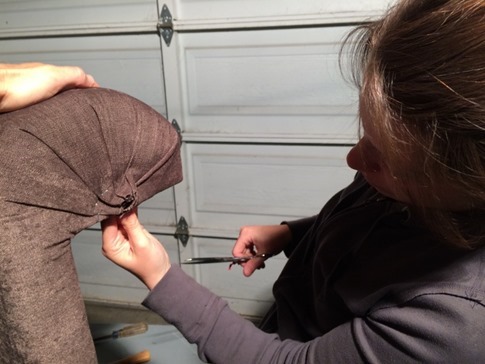
Ann became a bit of a master at pleating these rolled arms. Thanks, Google.
Covering the panel that goes around the old converter/charger, left in place for an electrical panel we’re still using and as a backup to the Magnum. The new baby seemed to be learning a lot as well.
Lounge backrest with the existing access panel and another small notch for the cables running from the battery to the new charge controllers and inverter under the chaise.
During the days, I slowly made progress on finishing although every time I tried to move forward, it seemed there was one more thing to do before I could be “finished.” Below, cutting out the new location for the propane detector since I’d converted the panel where it used to live (right behind this location) to a drawer.
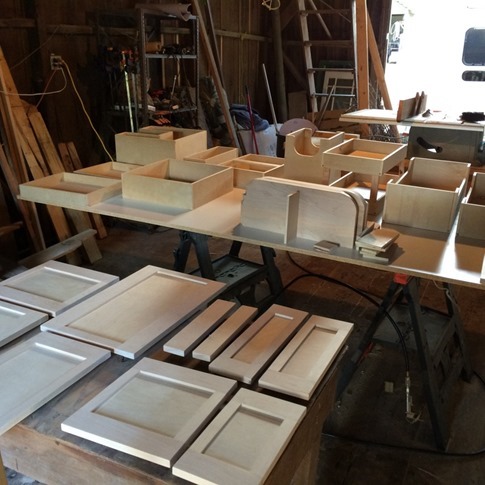
With the barn all swept up and as much as the sawdust possible removed, everything was laid out for finishing. I used something called Osmo PolyX Hardwax Oil that we’d been turned onto by the local reclaimed wood yard who we had build a dining room table for us. Non-toxic, natural ingredients and great performance. And the best part was that you wipe it on, let it absorb and buff it off. No worrying about uneven absorption of color or brush lines.
And you can’t argue with the results. Really brought out the grain in the maple.
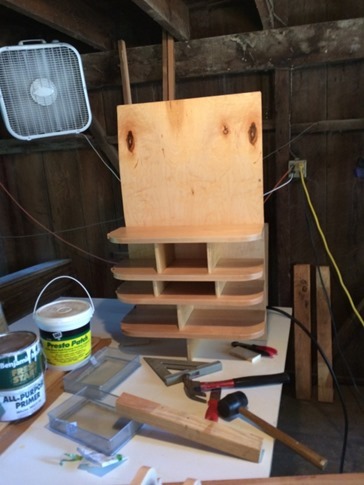
Shelves for the shoe storage.
After applying three coats of Osmo on all the drawer fronts and trim, I brushed a thin coat of Minwax Polycrylic onto the drawer boxes. It’s supposed to seal them well without the lingering smell of an oil finish, and I wanted to protect them given the range of climates (Alaska to the desert to the east coast) we hope to take them to.
Because I wanted to be able to nail through the back of the 1/4 ply backing into the maple shelves, I couldn’t assemble the shoe storage in place in the trailer and instead had to kinda balance each level like an upside down pyramid on the table with the finishing nail gun in the other hand. Not to mention the fact that I kept forgetting to nail the dividers in from below before adding each course. Much swearing ensued.
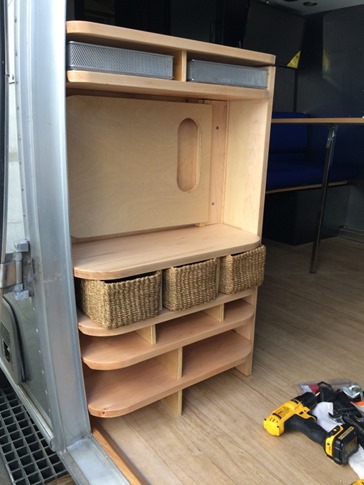
But once again, the results! Parents are each allowed one cubby on each level, your kick off shoes and whatever combo of Crocs and flip flops you can squeeze into the next level. Wynne gets her choice of the entire third level but will have to share within a couple years. Baskets for socks, gloves, hats. Swing out panel for cat heater (more on this below) and two metal mesh “junk drawers” held in place by cabinet magnets in the back of these slots.
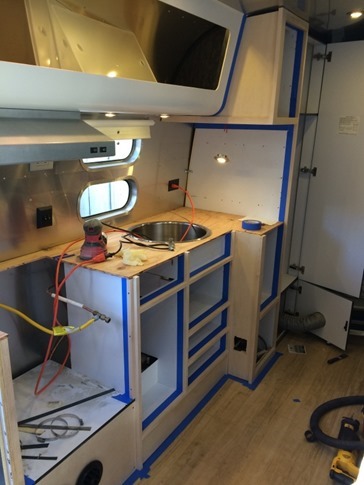
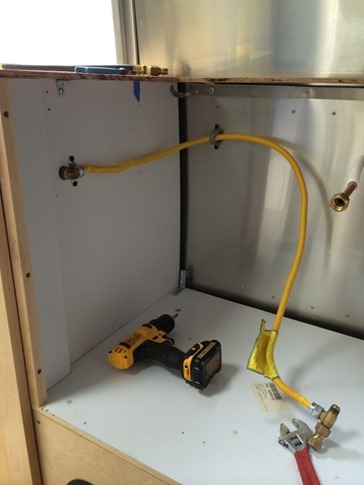
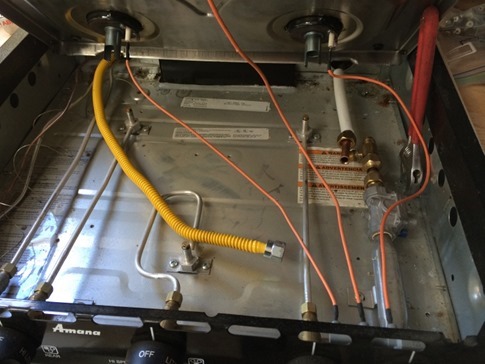
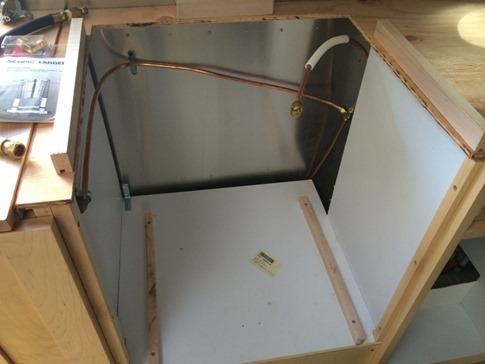
Now, to make use of that swing out panel by plumbing for the catalytic heater. This was the original plan, similar to something I’d done in our 19’ except that I’d tee’d off the fridge propane line.
But that flexible gas line coming into the stove so close to the flames and through metal holes with sharp edges was just “janky.” Remember, we’re trying to work smarter here. The right thing to do was to go to the hardware store for a pipe cutter, a flaring tool and some copper pipe and sit down in front of YouTube for a while…
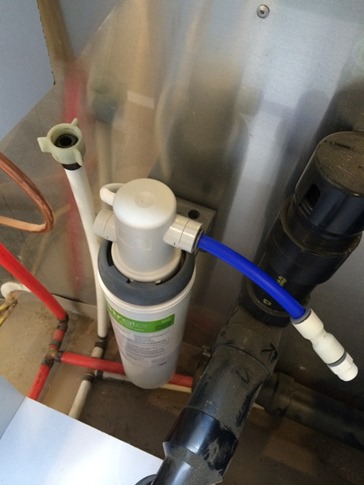
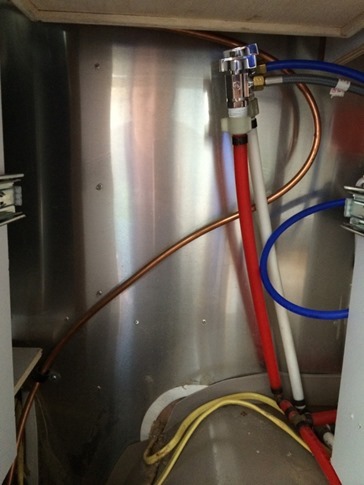
… then get nervous about everything and work on water for a while. I started to install this 3M water filter on the wall under the sink and was surprised to find that there were no shutoffs installed here (like we’d had on our 19’). Oh well, nice opportunity to bring our 2005 up to snuff.
Problem solved with a couple 90 degree valves. Note that the filter is only on the cold line. Replacement filters should be available at any Home Depot or similar.
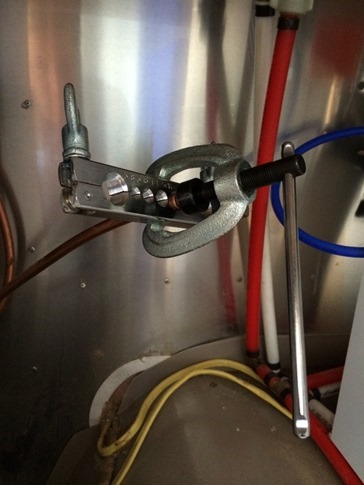
But there was that pesky copper gas line staring me in the face. Alright, let’s do this thing! The flaring tool basically grabs the copper pipe while a crank presses a cone into the opening. The cupped end then fits onto a nipple and the soft copper is compressed into a leakproof seal by a nut. Anyone see my problem below?
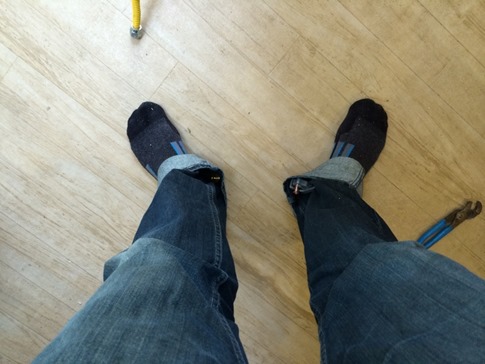
Yep, forgot to put the nut on the pipe before flaring. I would repeat this mistake numerous times in the hours to follow. The worst time was on the *last* flare. I was making the connector piece that would go from the nipple on the tee to the oven. While flaring one end, the nut I’d prepared for the opposite end kept falling between my legs where I was sitting on the floor of the trailer. I retrieved it each time and replaced it, but when I’d finished the second flare, I couldn’t believe my eyes when it was missing! Even weirder, I proceeded to look *everywhere* but could not find it. I cleaned up the entire trailer floor, the dinette table and the countertops and it was no where to be found. After a solid 15 minute search, I decided I’d wasted enough time and started to cut the nutless flare off with the pipe cutter. As the flare broke loose from the pipe, the cutter slipped out of my hand and landed perfectly into the rolled up cuff of my jeans. I immediately knew the answer and shifted my gaze to the other cuff where the missing nut was clearly visible. Mother ^%!#$@!
I was a lot happier with the looks of this setup.
The tee’d section goes through the cabinet and into the shoe storage where it connects to a shutoff valve and a quick connect. It’s basically a double fail-safe. Even if a little hand was able to turn on the stiff shutoff, gas wouldn’t flow unless something was plugged into the quick connect and even then the device would have to be turned on.
I tightened everything down and turned on the gas. Well, at least now I could confirm that the new location of the propane detector was effective…
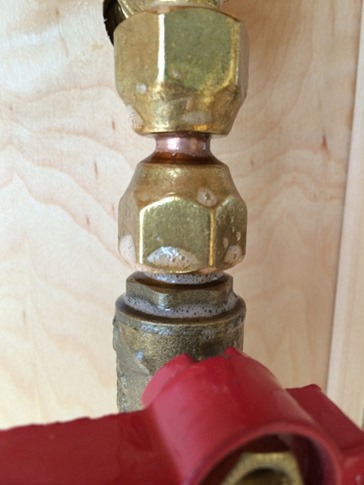
I was pretty happy we’d opted for that Fantastic Fan with a reverse setting in the back to complement the front fan in clearing out the trailer. After redoing a few flares – it takes a little practice to figure out how much pipe to expose in the tool – I soap tested everything, tightened up a few bubbling joints and was done.
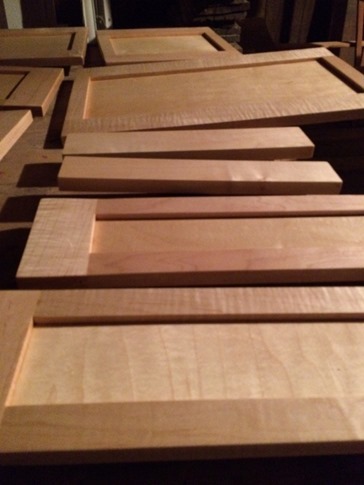
Now things could really start to come together. I still really wanted to go up to the rally and had come to the realization that we didn’t need shaker-style maple drawer fronts or cork countertops to camp for two days. But, we did need at least a few drawers installed and, of course, tunes.
The existing JVC radio had one deal-breaking shortcoming: No bluetooth. We love the ability to beam music or the stream from the local (or home) NPR station from our phones to the radio. Plus, we didn’t need the built-in DVD player since we’d play movies either through the AppleTV or through the laptop via the new HDMI I’d run to a spot under the lounge. We also didn’t need a CD player because, well, what’s a CD?
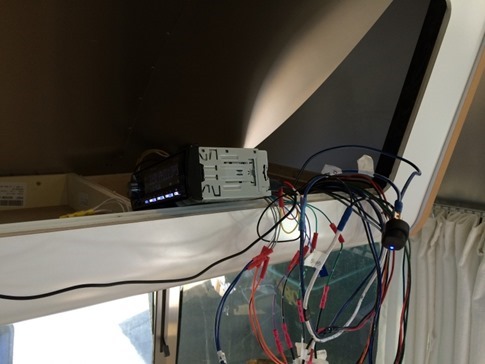
In fact, I learned from my online research that what we actually needed was something called a “digital media receiver.” After a couple attempts at wiring our new Pioneer MVHX560BT (highly recommended for the variety of aux inputs and the ability to completely black out the display at night) into the factory selector switch, I realized that we would never actually plug external speakers into the weird jack to the left of our front steps and instead would just beam music from our phones to the Eton Rugged Rukus Solar Speaker we’d just gotten as a “thank you” gift for our yearly donation to NPR, and cut the switch out of the system. That made matching the spaghetti of wires up *much* easier.
I did a quick test of sending music by bluetooth, listening to the output routed from the TV’s headphone jack via an RCA cable into the Aux input, and playing something via the USB port and was happy. Well, until I heard a hum coming in and out from the subwoofer when the inverter was running. A quick search on the Airforums confirmed that this was a common issue resolved by one of two solutions: installing a noise filter to remove electrical interference from the RCA leading to the sub or installing a cut off switch for the sub itself that could be turned off when running on battery power. So I did both. Now the hum’s gone, and we can cut the power hungry sub off when boondocking to conserve battery (see the little switch with a blue light in the middle right of the pic above).
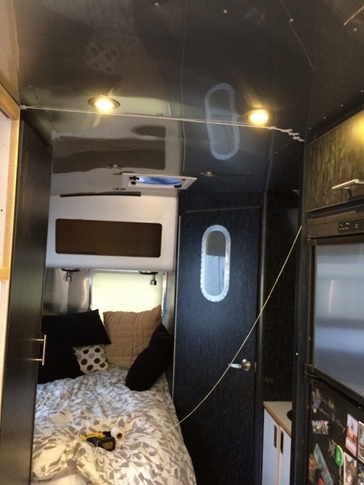
As I’ve mentioned, one of the reasons we went with this particular 25’ CCD floorplan was the fact that it had the exact same bed/bath configuration as we’d had on our 19’ (plus 6 inches of width on the bed which didn’t hurt). We found it to be ample without wasting a lot of space that could otherwise be used for the kitchen or family “hang out” area. That being said, with the divider curtain closed, we had about about a 2 square foot piece of floor in which to do our nightly toothbrushing and squeezing into the bathroom dance or to get dressed after a shower. With the 25’ we were able to move the curtain one “cell” forward to incorporate the two wardrobes and make a more sensible separation between “the kitchen” and “the bedroom” (yes, we know it’s all just one hallway). As we had in the 19’, we immediately ditched the temperamental accordion door and found some flexible curtain track that could negotiate the not-quite-straight path of the new curtain.
Mapping the path out with some string.
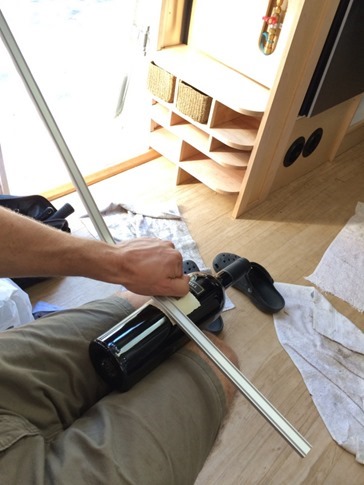
Bending the track with whatever was lying around.
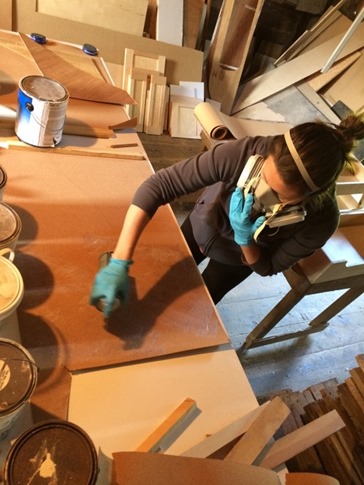
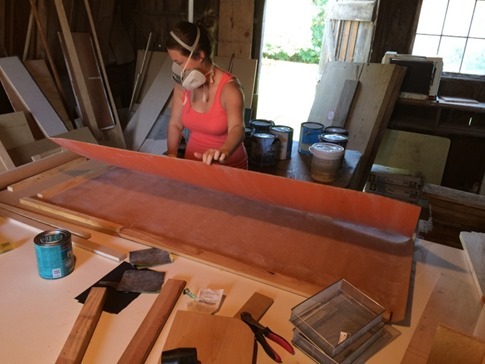
Meanwhile, I made the pregnant lady spray toxic adhesive (with appropriate safety equipment and ample ventilation) onto the old orange melamine cabinet panels that gave the insides a weird glow (especially with blue dinette cushions) and laminate them with rolled cork.
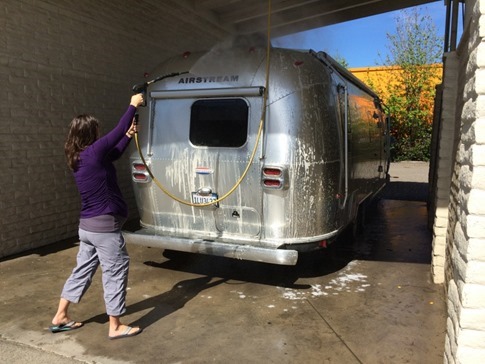
Then I made her wash the trailer…
It was starting to look like we might actually make it out for the maiden voyage after all! Next post, final touches and some “after pics” of the current status…

