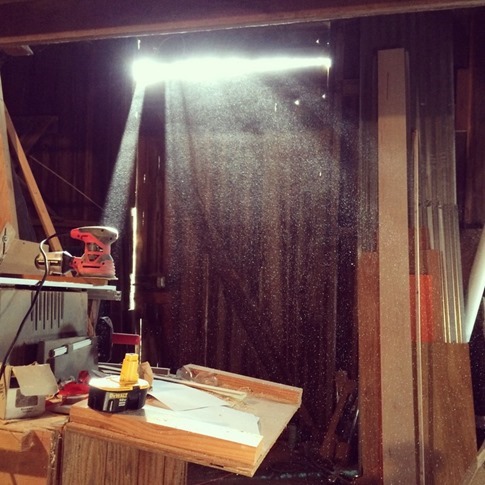
The last month has been pretty much spent in the barn, covered in sawdust. I’d known that taking on the task of building the drawer fronts would be a lot of work. A friend had even given me the name of a local guy who could custom make drawer fronts to my specs not to mention our very helpful (and retired with a lot of time on his hands and abundant enthusiasm) neighbor who volunteered his cabinet shop. But in the end, it was something I wanted to tackle myself and wasn’t sure how easily someone else would be able to work around the nap and school pickup schedules we had to fit the work into. Oh, any potty training…
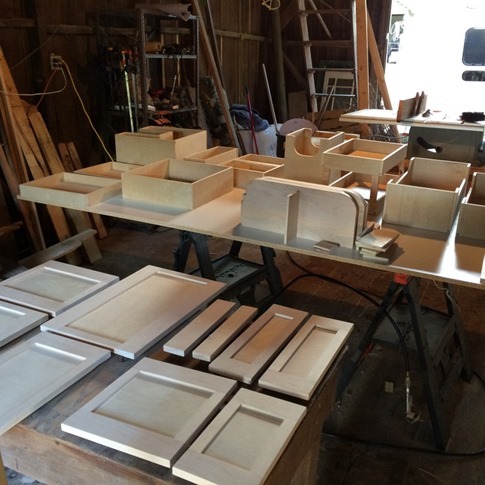
Over the course of a few evenings, I mapped out the plan of attack for a pretty simple Shaker style drawer front consisting of interlocking stiles (vertical pieces), rails (horizontal pieces) and a floating center panel. Taking the measurements for all the drawer openings, I subtracted 3/32” for clearance to allow them to be inset into the cabinet frame. My searches on the forums seemed to feel that 1/16” would be cutting it close and 1/8” would be simply barbaric.
We came up with a 2 1/2” dimension for the width of the stiles and a 1 1/4” dimension for the width of the rail, partially based on what we could get away with and still fit the cup pulls we’d ordered onto the smallest of the drawer panels. While the stiles would run the overall height of the drawer front, the length of the rails had to be adjusted in by 2 1/2” on each side and then have 1/4” added back for the tongue that would lock them into a groove cut into the stiles. The center panel width would be the same as the length of the rails, including the tongues, but the height needed to be adjusted by 1 1/4” top and bottom and then increased by 1/4” to fit in the groove. Your head spinning? So was mine. And kids say they’re never gonna use what they learned in math class…
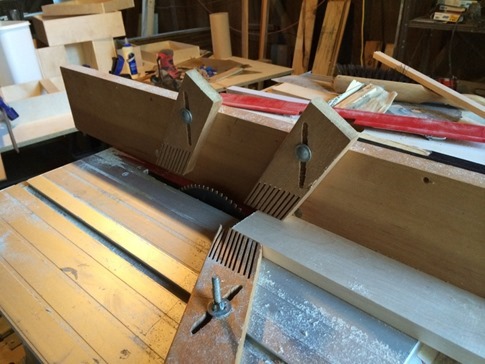
Let’s see, 11 drawer fronts, each with 5 pieces, means 55 pieces all cut accurately to within 1/32”. Next, all rails and stiles needed to be grooved to accept the floating panel and all rails needed two passes on each end with the dado blade to create the tongue. The number of rabbets was multiplying like… like… what’s a good simile here? I don’t know. I can’t think of one. Did I mention I’ve been breathing a lot of sawdust?
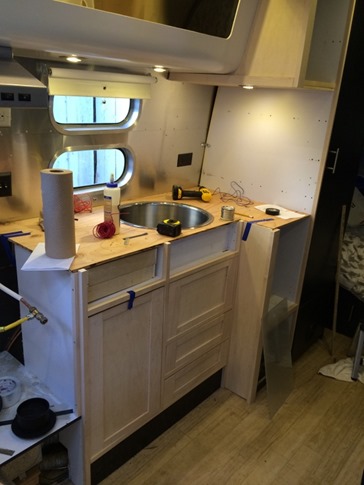
Glue up went as smoothly as I could have hoped with only a few “gametime” tweaks required and only several pieces needing to be “persuaded” loose as a result of excess glue oozing onto the work table. All sanded (and with a few bad joints masked with some wood putty), they were really starting to look like something.
Unfortunately, the better the new stuff looked, the worse the old started to look. I had beautiful new, light-colored solid wood butting right up against the existing dark laminated particle board and had to figure out where the new should end the old continue. So I took a deep breath and decided the entire “kitchen area” needed to be maple. Scope creep… (but it’s gonna be awesome!)
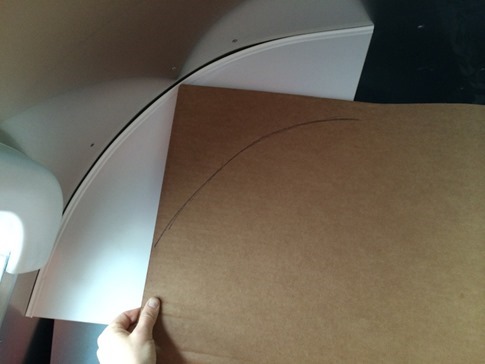
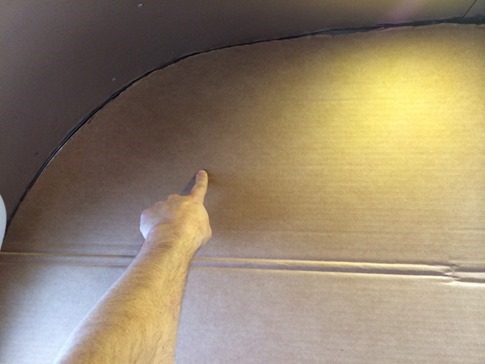
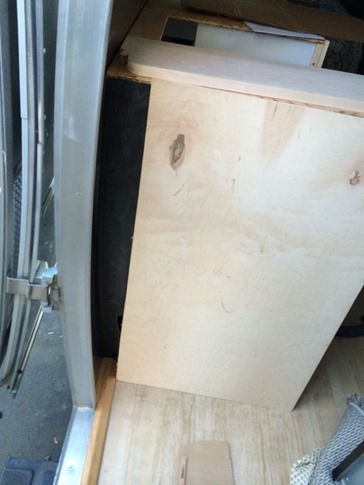
Unfortunately, this meant cutting a panel of maple ply to wrap around the upper cabinets. I started by using the opposite end of the cabinet to make a negative template. The roof curve was freehanded and trimmed with scissors until the cardboard fit.
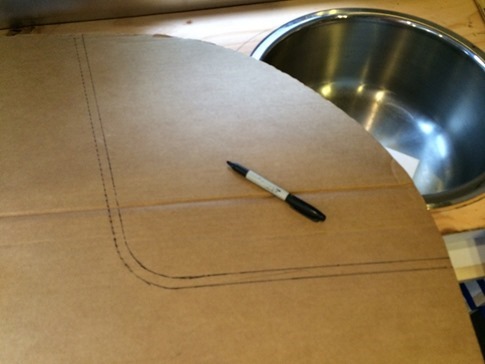
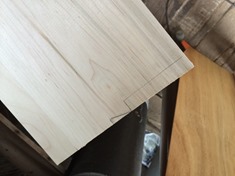
Then I could trace the curve of the cabinets themselves onto the backside with a Sharpie, bumping it in 1/2” to account for the trim.
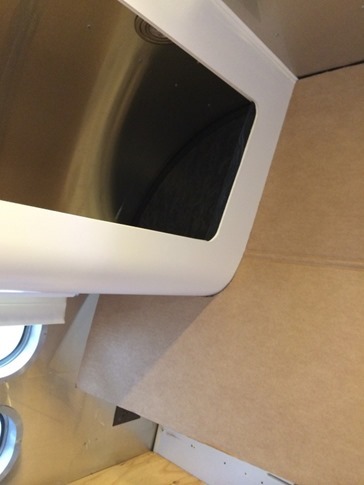
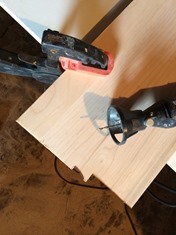
With the contour of the cabinet cut out, I could fit the template in place, tweak the fit along the ceiling, trace the bottom and use this piece to transfer the shape onto the plywood.
Check out the new panel in place and trimmed and the drawer fronts dry fitted into place. Oh, and the puck light I stole from over the dinette (more on that later) mounted above the new counterspace.
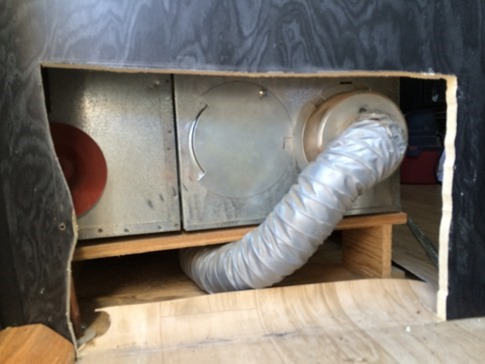
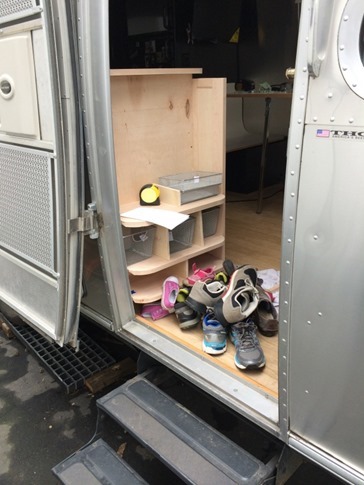
Meanwhile, around the corner, I’d started work on the new shoe storage and counter extension just to the left of the entry. That meant relocating an existing furnace duct which I had to cut out a panel to get to. While in there, I noticed that the 2” duct which runs into the belly pan to keep the storage tanks from freezing was pretty seriously kinked. I ordered a duct cover to seal off the removed duct and planned to leave this panel of 1/2” plywood open to give the 2” duct a little more space to make the turn. The hole will be covered by the new shoe storage which will be mounted so it can be removed to get access to this area if needed.
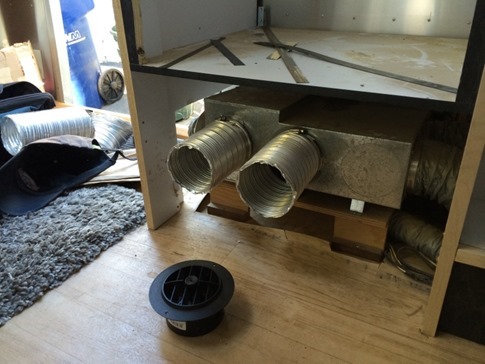
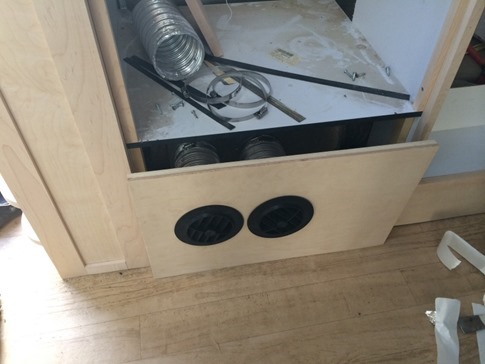
As per the installation instructions for the furnace and a phone call with Atwood, I needed to add another duct back in to prevent overheating of the furnace box. Since I was also installing a few returns with dampers so we could close off heat to areas like the bathroom or even our bedroom while keeping the kids warm, I decided to add not one but two new ducts leading to the area under the stove to give plenty of heat dispersion. I used standard flexible dryer ducts and ring clamps to make the connections.
With one vent pointed towards the lounge and the other towards the dinette, we should be all set.
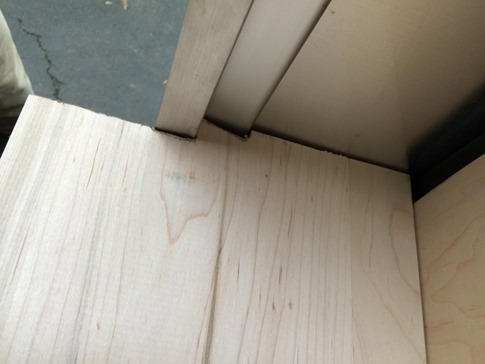
Designing the shoe storage meant more custom fitting around the curve of the walls and the door jam.
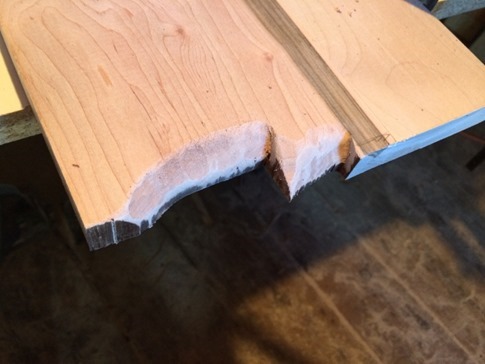
Each shelf had to be separately measured to match where it would hit the wall and the notches beveled for a tight fit.
Then edges radiused with my fancy radiusing jig.
Two courses done and some on-the-fly planning… This space needs to fit shoes for two adults (we’re each allowed two pairs of shoes and flip flops in this area), one toddler (whose parents think she looks awesome in a variety of klassic kicks) and one more on the way, not to mention a swing out mount for our catalytic heater and a “junk drawer.”
Next, finishing all these wood pieces and starting to actually put things back together!

