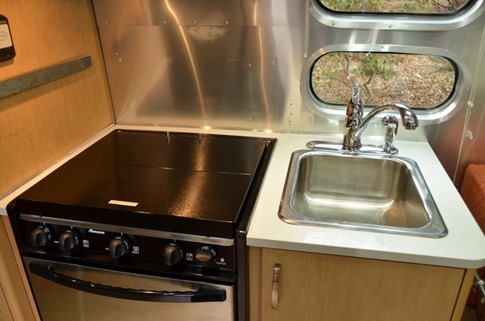
Anyone who’s spent any time living in any trailer, particularly an Airstream, knows that kitchen counterspace is frustratingly limited. Put a cutting board on the countertop to chop an onion and you’re done. Sure you can fold down the cover over the burners on the stove or slide the cutting board cover into the sink, but as soon as you do, you’ll need to boil water or wash a vegetable. And, of course, the dirty/clean/drying dish dance is a favorite.
Technically, our previous 19’ trailer had – uh, lessee, carry the 4, add 2… yeah – ZERO counter space. It was all sink and stove, and with those in action, the only place to prep anything was on the dinette. and with a baby in a hook-on highchair reaching for anything shiny in front of her, that was not a great place to wield a knife.
When we first saw our new 25’ CCD, we were excited at the addition of about 18” of counterspace between the stove and the larger round sink. Plus, there was now an L-shaped lounge in the extra 6’ of trailer where kids could play while the dinette was used for prep. It would still be a juggling act, but it was doable.
Note for anyone out there comparing models, the standard 25/27’ models gain a little counterspace by having the sink in a bumpout/mini peninsula that juts out into the main “hallway,” but we always found those units to be lacking on floor space where kids could roll around, something we always liked about our 19’ and now about our 25’ CCD.
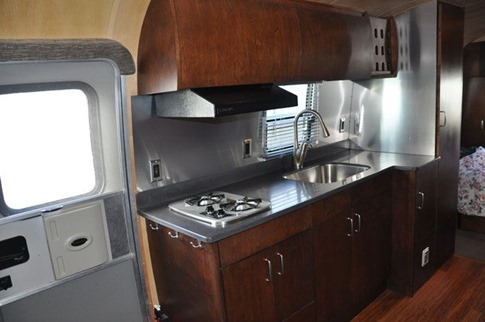
But then one night while browsing around Pinterest, I came across a picture of an Airstream with a great looking kitchen and a notable amount more counterspace.
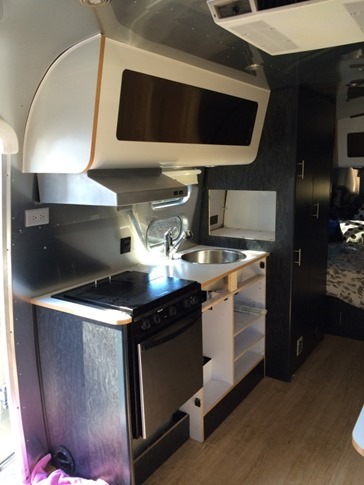
I squinted and twisted my brain while looking at the picture until I realized something surprising: the trailer in the picture had the exact same kitchen layout as our 25’ CCD! Timeless Trailers, a well-known high end modifier, had taken out the cabinet that held the microwave and extended the counter. Oh yeah, they also removed the oven, replaced the stove, extended the counter to the entry door, upgraded the sink and installed custom cabinets, but I could see an idea coming together for our renovation.
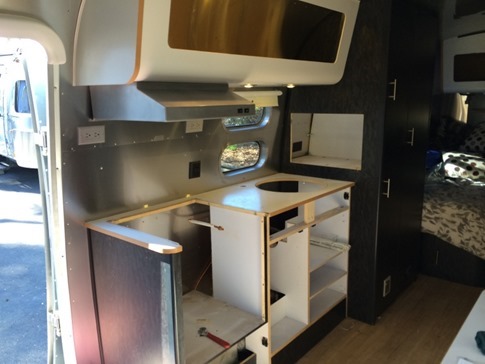
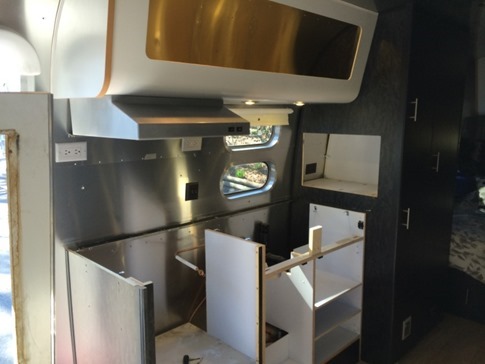
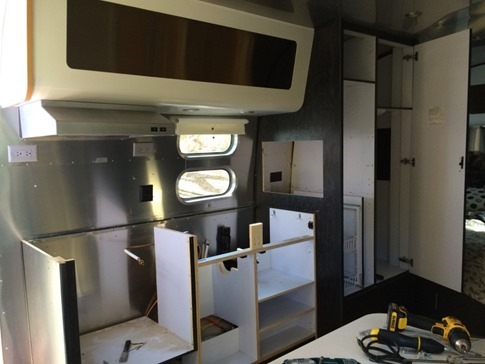
After a lot of thought and consideration, we decided to do it and today was cut day. We’d already removed the microwave and taken the doors off the cabinets. Those were going no matter what since we weren’t going to use the microwave and wanted to install drawers instead. The oven came out easy, and I made a note of the gas connection I would need to tap into to plumb in our catalytic heater a little later.
Next out was the countertop with several screws along an angle bracket in the back and a couple L-brackets holding it down to the cabinets.
Next was removing everything from inside the microwave cabinet. Pocket screws and dowels held everything together. I finally hacksawed the tip off a screwdriver and used it as a bit in the cordless drill that could reach inside the pockets to make the job a little easier. The dowels either met with a sharp blow from a mallet or a thin hacksaw blade depending on whether I needed to save the shelf for later.
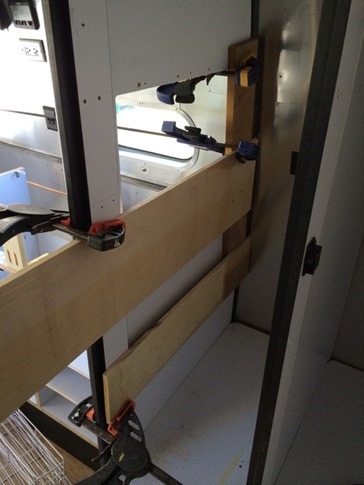
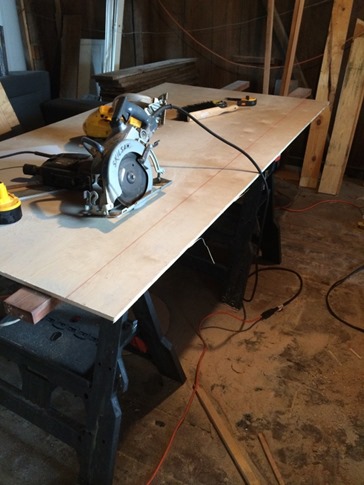
And then it was time to cut. I measured about 7 times and then clamped boards in place to guide the circular saw.
Then I held my breath and went for it… (note, this 18V Dewalt circular saw always sounds so inconvenienced by having to cut things)
And the top…
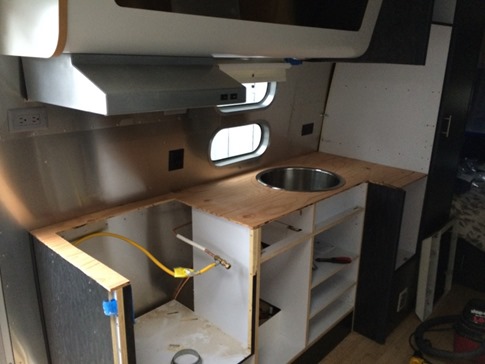
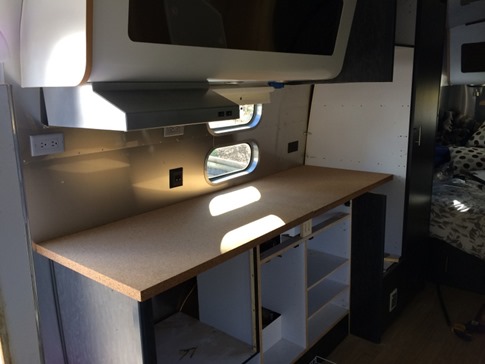
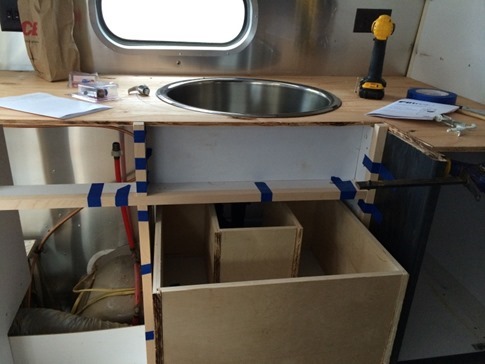
I used the original countertop as a template and added the dimensions for the new extension to cut the plywood underlayment for the cork countertops. I also reinforced a couple spots underneath the sink since the plan is to undermount the stainless bowl, hanging it off the plywood and running the cork on top of it. Looks pretty awesome to us!
And with the cork in place as a mockup.
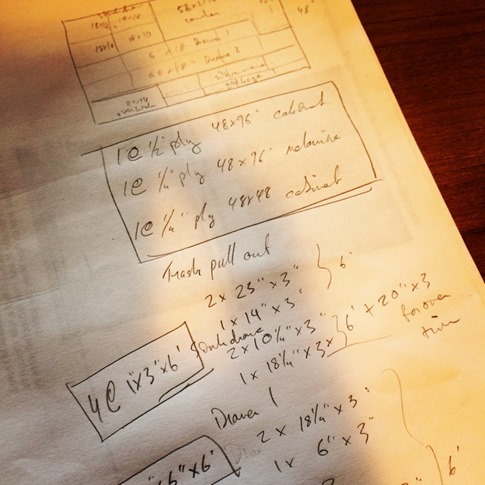
We never liked the doors on the stock kitchen cabinets, both the while melamine and the fact that you had to open a door just to slide out a drawer. The plan was to build a garbage/recycling slide out into the left cabinet, add a silverware drawer into the previously empty space above, and fill the right cabinet with drawers for things like tupperware, plastic bags and tinfoil, kitchen towels and gadgets. As much as I was tempted to use Ikea drawer and cabinet fronts, I just couldn’t make the sizes work and set about plotting the whole thing out from scratch.
No fancy cabinet grade table saws here… Just a Skill Saw and a rusty blade..
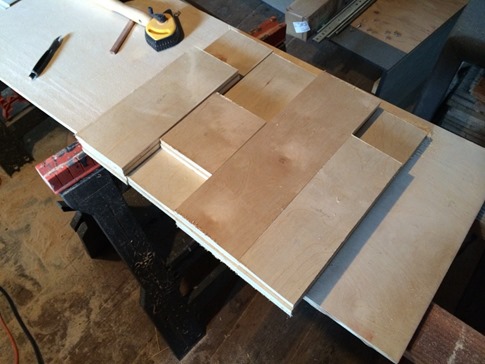
Sides, fronts and backs for all the drawers cut.
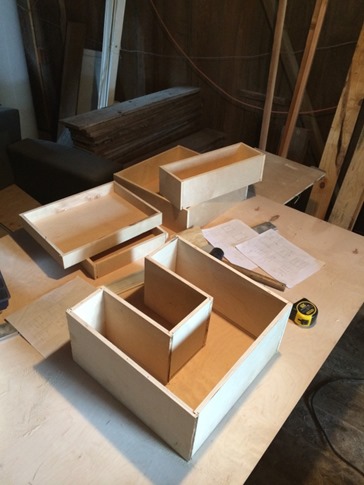
Then, let the rabbeting begin. Two 1/8” blades in a stack dado set. One pass on each end of the fronts and backs to leave a 1/4” tongue and another pass on each end of the sides to cut a 1/4” groove. Oh, and a channel the whole way around to accept the plywood drawer bottom. Miraculously, they all fit together pretty much on the first try. Actually, after seeing the silverware drawer, I realized I could slice it into two thin drawers with knives on top and silverware below.
And the masterpiece? The U-shaped drawer that fits around the sink drain. In a trailer, every inch counts. Oh, and we’ll probably add a flip down sponge drawer in front of the sink too.
Next up, building drawer and cabinet fronts and finishing the trim on the exposed particle board edges of the old cabinets…

