Our general approach to the security of our belongings on this trip has been to 1) not make ourselves an obvious target, 2) make it as inconvenient as possible to take things, and 3) not bring anything we couldn’t bear to lose.
But, even in light of number three above, we will have a laptop and some electronics equipment that we’d really rather not part with. So, taking a tip from number 2, I’ve been doing some thinking about how to bolt some kind of “safe” into the truck.
First research led me to the Sentry and First Alert fire safes but they’re incredibly heavy and their fireproof walls are so thick you lose all your internal storage. A little overkill. My next thought was an ammo can that could be bolted in but dealing with the swing open lid and finding one that would fit both laptops seemed cumbersome.
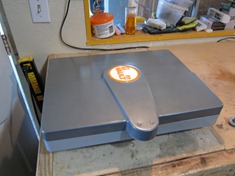
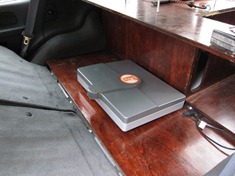
Finally, a web search led me to the DormVault. Obviously intended for college kids to bolt to their bunks for secure storage of laptops (or more importantly so their roommates don’t bogart their stash), this steel clamshell was just the shape and size I was imagining.
Now, how to bolt it to our storage unit. With the rear seats up, padlocks through the release mechanisms on each side “discourage” the seats from being folded down for access to the area behind the fridge and camping equipment. This is where we’ll keep our personal stuff, clothes etc and would be a good place for “the vault.”
About now, I’m realizing that any crook with a computer is getting a lot of info about where to look in our truck for the “goodies” but if they’re savvy enough to read our blog for the info, my hope is they have better options for making a living. And if not, they better bring a good set of bolt cutters and be willing to go through a couple locks. Again, this is all about “inconvenience.”
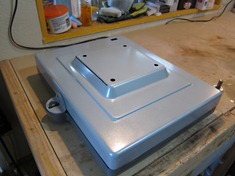
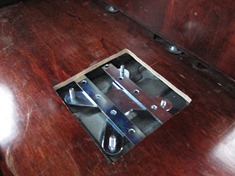
So the bottom of the DormVault has this protrusion so that the bolts on the inside don’t dig into your laptop. Wanting to mount the vault as flush as possible to maximize space for our stuff, it seemed to make sense to sink this section down into the wooden “floor” of the storage unit.
Out came the Dremel (people who say they can’t find a use for these are insane – or have access to better tools!).
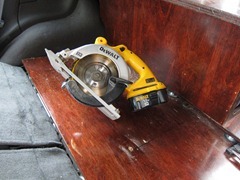
Although I’ll admit that before reluctantly going to the hardware store for a new multi-purpose Dremel bit, the circular saw was brought out for one rather scary attempt. Adjust that depth carefully!
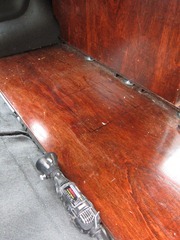
With the hole cut, a couple steel straps wedged under the mounting braces that came with the DormVault (the two diagonals) and we’re in business. The storage unit itself is bolted to some anchors in the cargo area (visible below).
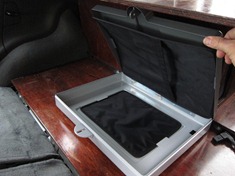
Worked perfectly as far as I’m concerned. Some storage pockets that come with it for important docs and room for a laptop, camera and whatever.

